To add tables, click on the "tables" button located on the toolbar located at the top of the canvas.
Choose how many rows and columns you need for your table by simply moving the mouse over the boxes as shown in the image below.
Once you click, the table will appear on your canvas! It's that simple.
Adding rows & columns
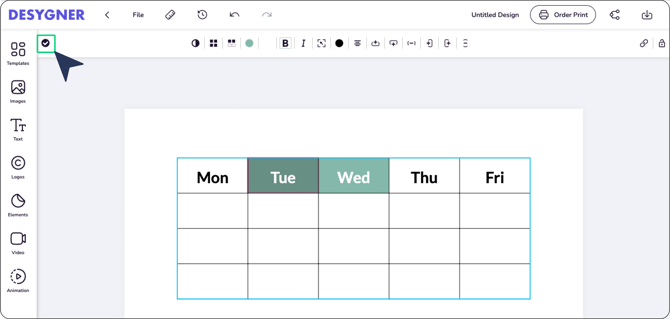
- Select the table. Then click on the edit icon located on the left side of the top bar.
- Select a box.
- Then click on add a row before the selected box or to add a row after.
Adding columns
1. Select the table. Then click on the edit icon located on the left side of the top bar.
2. Select a box of the column you would like to delete.
3. Then click on add a column before the selected box or to add a column after.
Change the style
First, select the table. Then click on the edit icon located on the left side of the top bar.
You would be able to change:
- The thickness of the text or make it italic
- The color of the table.
- The thickness of the borders of the table.
- Add dash border
- Opacity
- The alignment of the content
Apply your changes
Click on the button located on the left of the edition bar (where the edit table button was previously located).