
If you have existing templates that were created using InDesign, they can easily be imported to the Desygner editor.
To be able to export Indesign files to Desygner you need:
✅ Be part of an Enterprise Plan
✅ The installation file: our team will
✅ Your own Desygner API Keycode: you will be able to generate it in your Desygner Workspace.
⚠️ Make sure you already have all your fonts imported in Desygner Brand Assets. < Set up Brand Library Assets >
1. Install our InDesign Plugin
Installing the InDesign plugin is easy. It’s available for Windows and Mac computers, so you can use it no matter what system you work with. Follow these steps to install the InDesign plugin on your laptop.
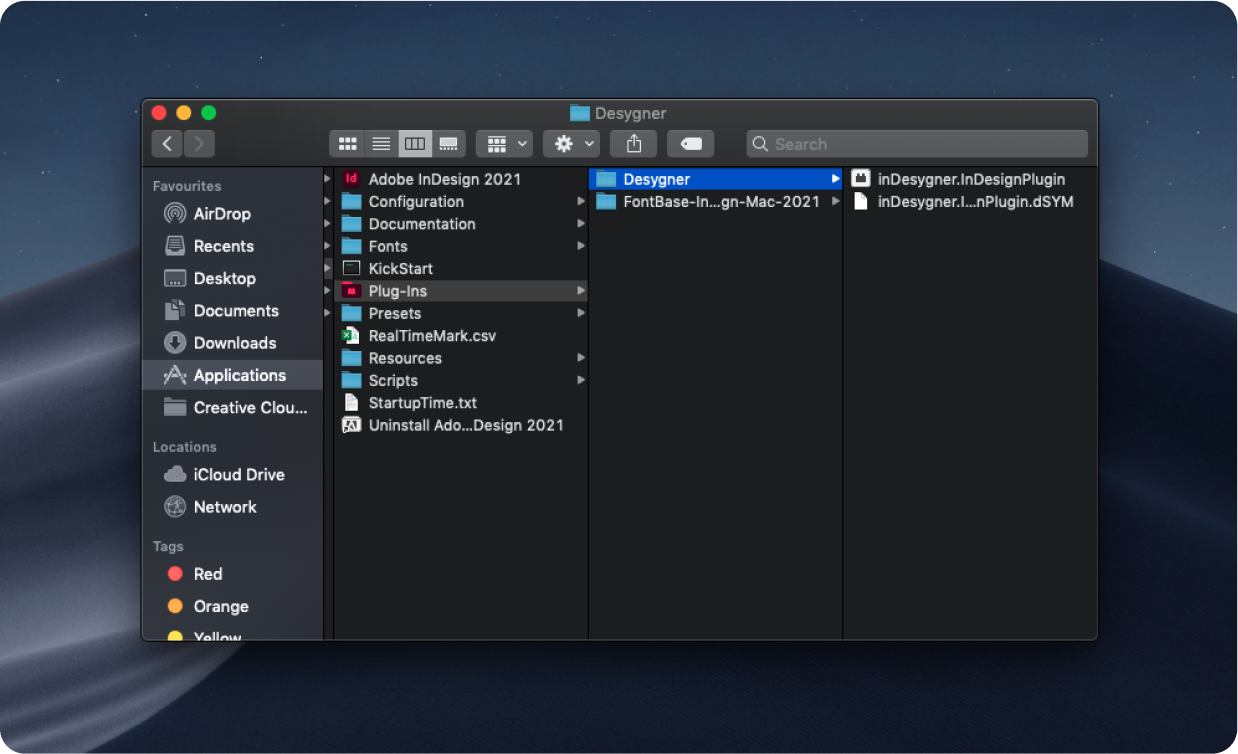
Go to Applications/Adobe InDesign/Plug-Ins and create a new folder. You can call it Desygner Plugin.

Paste both files from Desygner Plugin into the new folder. Done! It's as easy as that.
2. Adding your KEY code in InDesign
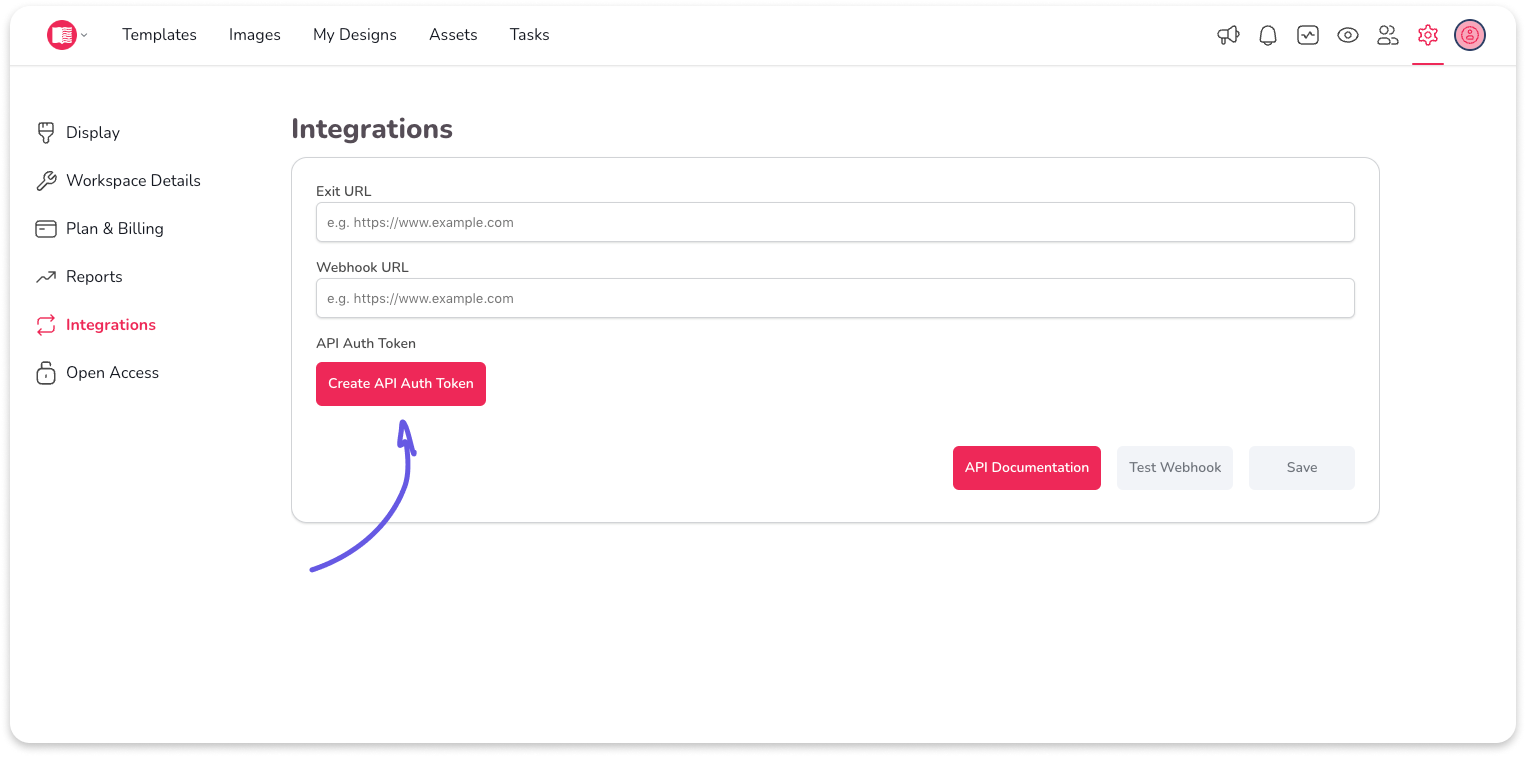
To generate the API key:
- Login to the workspace
- Click on settings > integrations
- Generate API Auth Token
Add the API Key to InDesign:
-
Open InDesign, go to edit on the top bar
-
Click on preferences, a modal will open
-
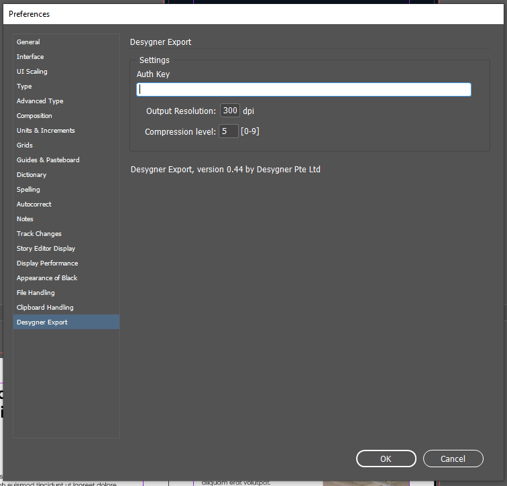
Select Desygner Export in the left-side menu
-
Paste the API Key and click on OK
3. Before exporting
Layers:
Check the visibility of layers: Only the visible layers will be exported to Desygner
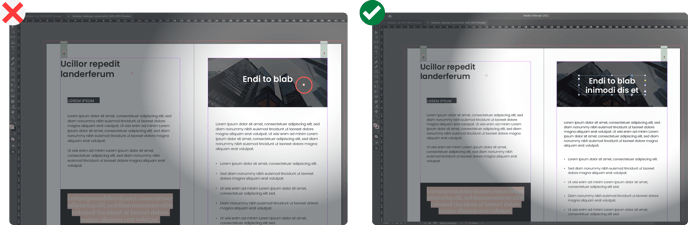
Avoid Text Overset
Fix overset text before exporting the file by extending the text box. Overset text can result in missing words, paragraphs, or even pages. This can also be an issue with tables, so please make sure you fix them before exporting.
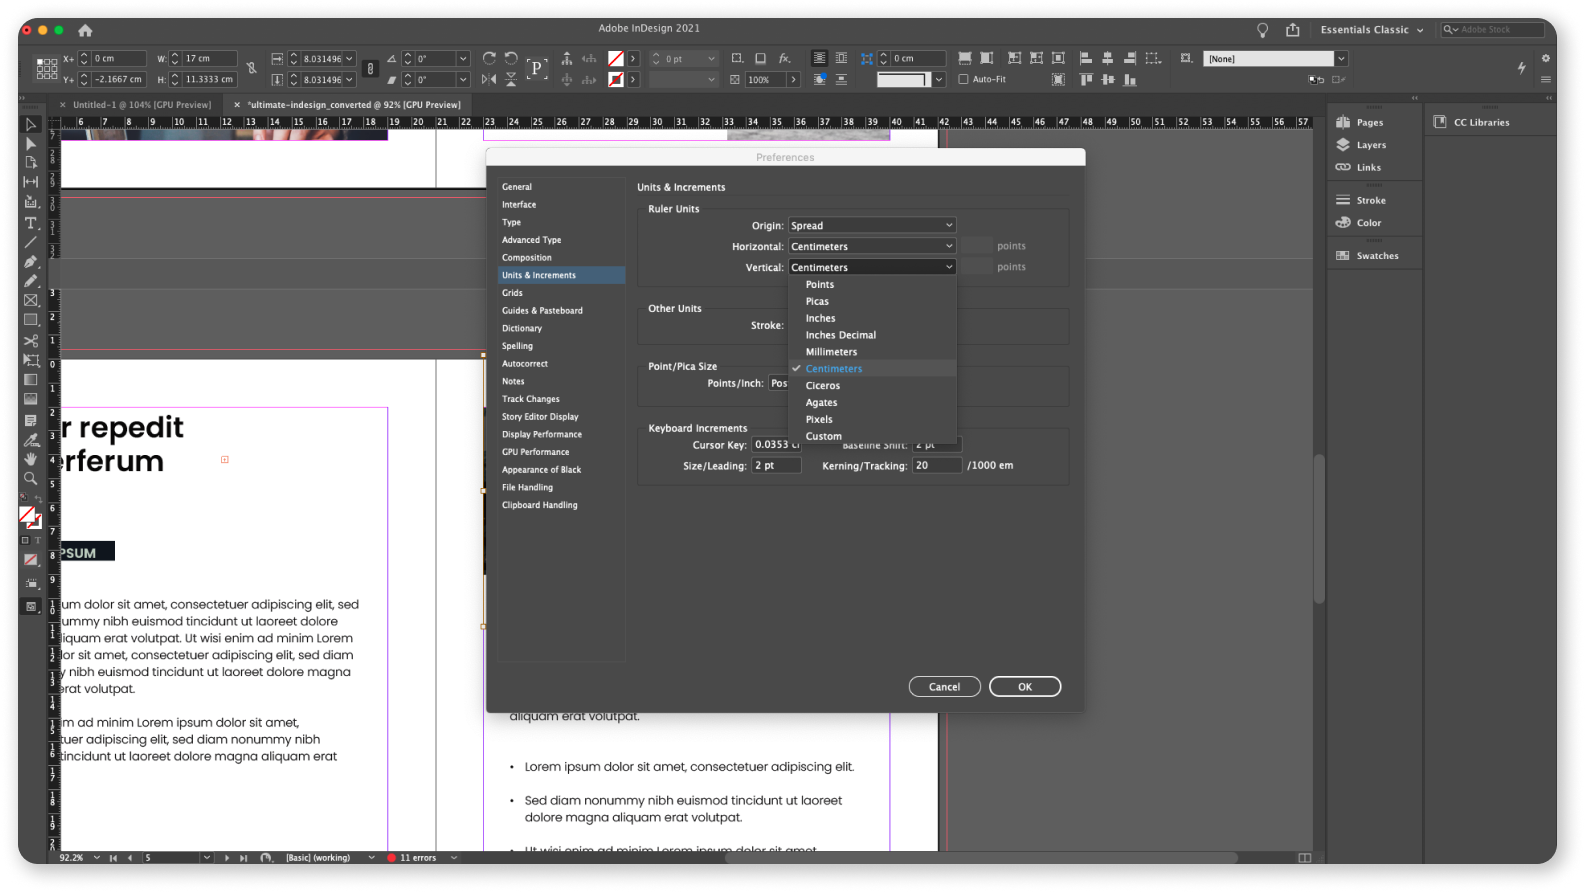
Check file dimension
The template will maintain the same unit dimension from the InDesign file. Desygner recognizes cm, mm, inch and pixels, so make sure you choose one of these dimensions on InDesign. Go to preferences/unit & increments
⚠️ Do not use dots as the defined unit dimension. This can generate an error while you are exporting to Desygner.
Broken Links
Make sure the file does not contain broken links from embed elements.
Bullet points
Avoid using special characters as bullet points, they can break in the editor
Fonts
Make sure you don't have missing fonts
In Desygner Workspace
all the fonts used in the InDesign file must be added to the workspace assets
4. Exporting InDesign files into Desygner
⚠️ Before exporting on Desygner, make sure you already have all the fonts imported in Desygner Brand Assets.
- Click on the file in the top menu
- Select export to Desygner
- Select the category and collection in which you want to add the new template
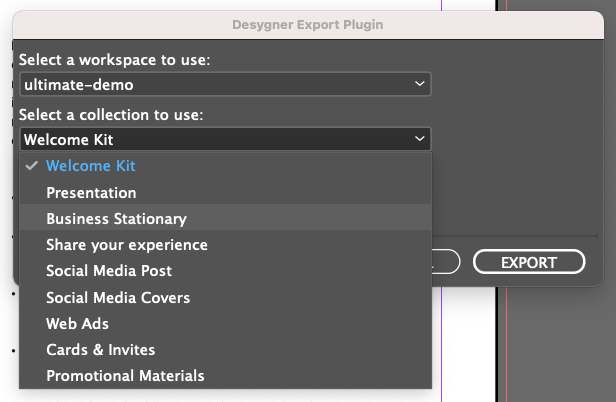
4. Click on Export
5. Once the process is done, just open Desygner, go to the corresponding collection and you will find your new template there.

Help: If you're having trouble installing the InDesign plugin, don't worry! Just drop us a ticket and we can help you out.