
On the Images screen, you can search for the images, vectors, and illustrations you need for your projects.
To guarantee that you are getting the exact assets you are looking for, you can filter your search by source and orientation.
To access the Images screen, click on the second tab presented on the top menu of the platform once you are logged in.
Type of Images
In our Images market, you have access to:
- Free images
- Paid images - these are images that you can purchase using your credit card
- Pro+ images - these are images that you can use for free when you are subscribed to the Pro+ plan. There are over millions of images, vectors, and illustrations available
- If you are on a Business plan, you have access to millions of images, vectors, and illustrations. 23 million of these are focused on business. You also have access to over 200 million more paid images that you can purchase for $5 each
You can identify them by the text written on the purple tag on each image's top left corner:
- Free images tags have written Free on them
- Paid images tags have written Buy on them
- Pro + plan images have written Pro+ on them
- Desygner Business images tags have written Business on them
If you are interested in seeing the features that all Desygner plans offer, feel free to check our Pricing page.
Adding Images
From Desygner gallery
Once inside the editor, you will be able to search for images while you are designing. Click on the images button in the left menu and then on Stock. Stert typing for searching..jpg?width=688&name=Searching%20images%20in%20the%20editor%20(2).jpg)
From your asset library
You can also choose images saved in your asset library. Just click on Assets instead of Stock.
.png?width=688&name=Searching%20on%20Assets%20(1).png)
Upload your own images
In this video, you will learn how to upload images.
First, head to the Images tab on the left, then click on the image uploader. Select the image you wish to use, and then click Open to upload it.
From here, you're free to use and customize the image in the editor.
Done! Now you just need to add your content.
Resize, crop & rotate images
Resize image content
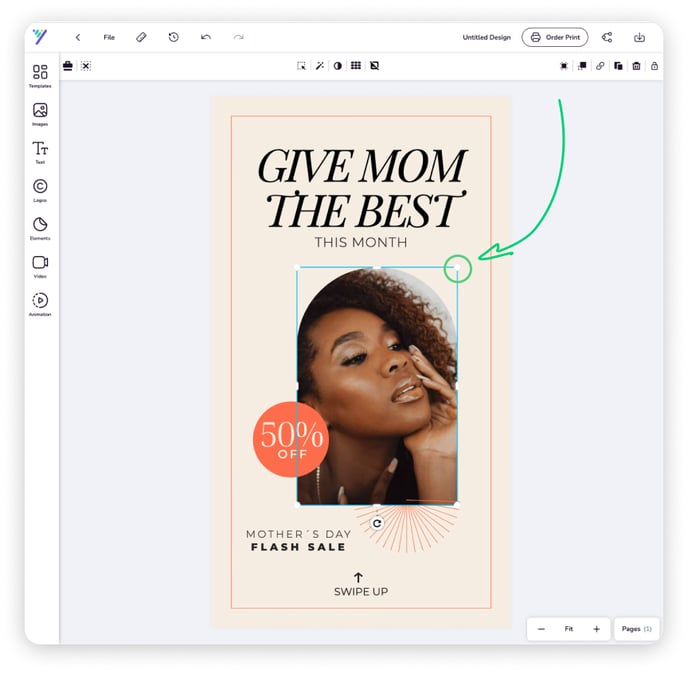
To resize your images:
- Click on the image you want to resize.
- To select multiple images, hold Shift on your keyboard, and click to ad other elements to the selection.
- Click any of the resize handles (see screenshot below) on the corners of the selected element/s, and drag it in or out to resize.
Crop images
Cropping is a very powerful tool! Using an unusual crop can give an image a greater impact. To do this, follow the steps below:
- Add your image to the canvas.
- Select it: To do this, click on it.
- Arrows will appear around the image or photograph.
- Click on one of them and drag until you’ve cropped what you need.
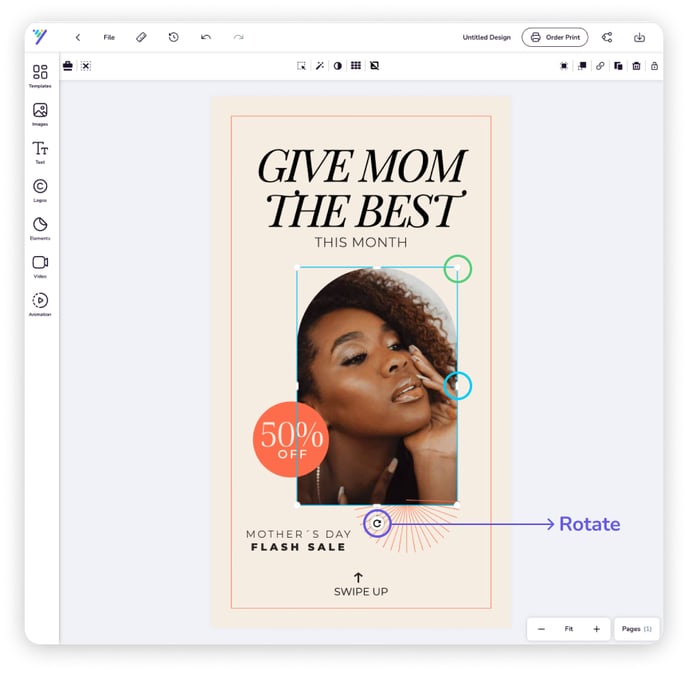
Rotate images
- Click the image or video you want to rotate.
- To select multiple elements, hold Shift on your keyboard, and click to add other elements to the selection.
- Outside the border of your selected element or group, at the bottom of the image, there’ll be a rotate handle. Click and drag it left or right to rotate.
Apply filters & image settings
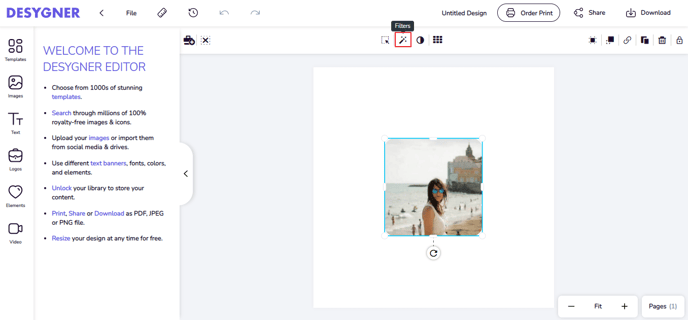
Edit the color, brightness, and contrast of an image
- Select the image.
- Select Filters from the options on top.
- Click on the Advanced tab and adjust your image's color, brightness, and contrast as you prefer.
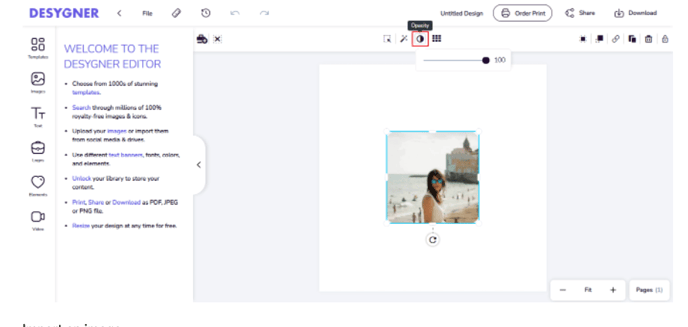
Edit the opacity of an image
- Select the image.
- Select Opacity from the options on top.
- Set the opacity of your image as you prefer.
Removing image backgrounds
To remove the background of your images you just have to select your image and click on the "Remove Background" button located in the toolbar that will appear at the top.
Place an image into a placeholder
The placeholders are responsible for helping us to create these images. And what is a placeholder? They are “spaces” where we can later place an image by simply dragging it from the gallery.
Placing images into a placeholder in Desygner is very simple.
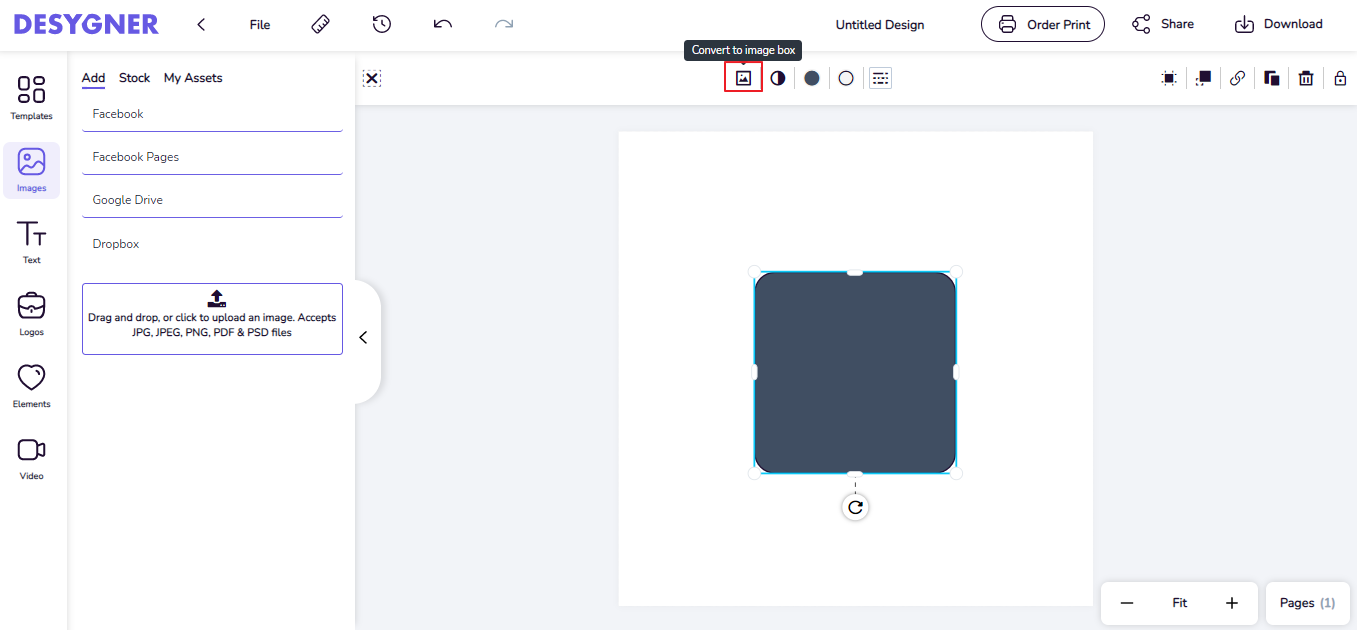
- Choose the shape or frame that you like and add it to your canvas.
- Select the shape or frame and you will see a toolbar at the top.
- Click on Convert to image box if it's a shape.
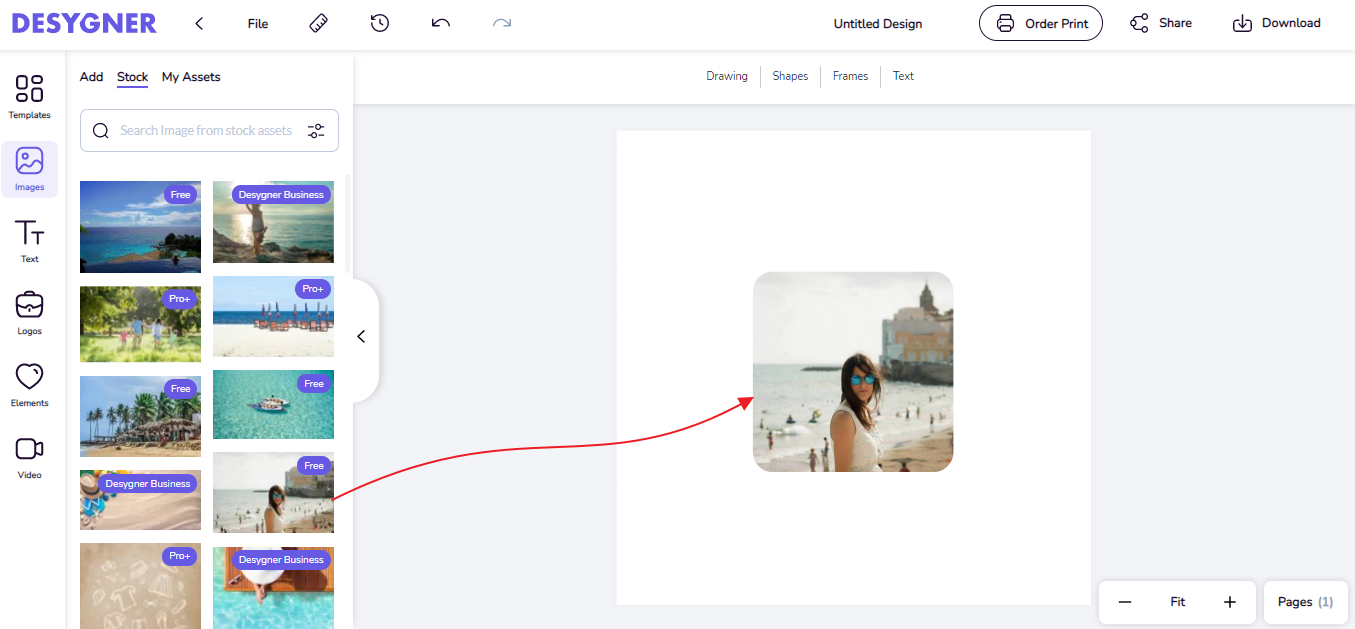
- Drag from our image gallery or upload and drag your own image.
- Do not forget to download with a transparent background to remove the white background.
The quality of my picture is reduced when uploaded
The image itself is not losing any quality.
The quality of your image will seem reduced when uploaded if the image is either too large or you have a poor Internet connection. For better performance, the preview will seem a bit blurred out to make sure that you are not waiting too much until you are able to keep designing.
Once you download your design with any settings, you will see that the image keeps its original resolution.
Do I need a license to use Desygner images?
Please check our content usage section.